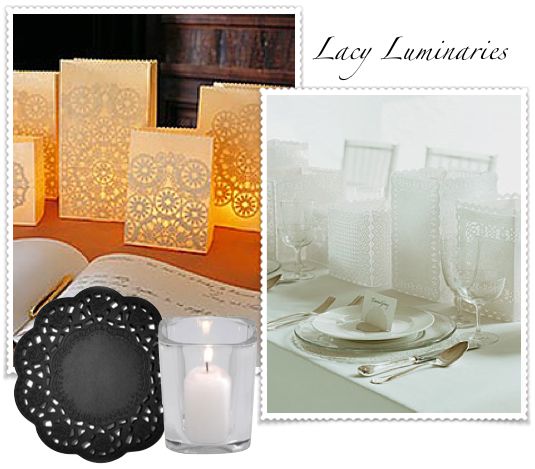
Tools and Materials
- Light-colored paper lunch bags in various sizes
- Ruler
- Scalloped rotary cutter
- 12-inch gold-colored doilies (white ones won't show through as well)
- Utility knife
- Scissors
- Glue stick or Xyron sticker-making machine
- Votive candles in glass holders
- Utility lighter
1. Lay each bag flat; use a ruler to guide the scalloped rotary cutter as you cut a new top edge 1 inch below the bag's original edge.
2. To cut doilies to fit the bag, lay a bag flat on the work surface. Lay a doily on the bag, and determine where to cut in order to create a pleasing design. Cut straight lines with a ruler and a utility knife; use scissors to snip along curves. The final size of the doily should be 1/8 inch narrower than the width of the bag so the doily will lay flat inside.
3. Coat the gold side of the doily generously with glue from the glue stick, or coat it with self-adhesive using the Xyron machine. Attach doily to the inside of the front of the bag, positioning it as desired. After gluing, close the bag, and run your hand firmly over the design to seal. Open the bag, and let dry at least 1 hour.
4. Set the bag in desired location, and then put the votive candle, in its holder, inside. Light the wick once the candle holder has been securely placed; do not carry the lit luminaria.
Instructions provided by MarthaStewart.com


No comments:
Post a Comment